
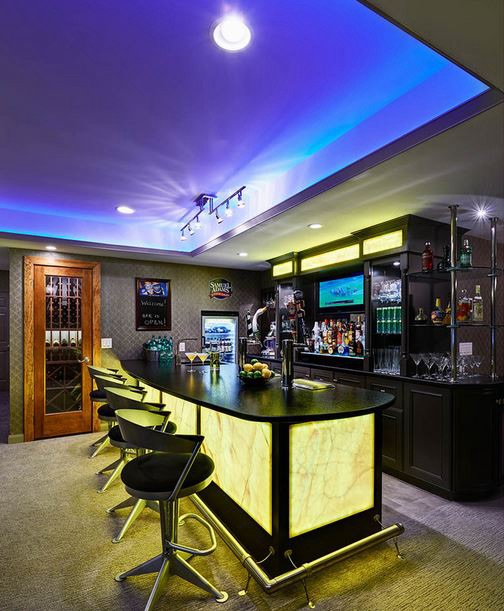
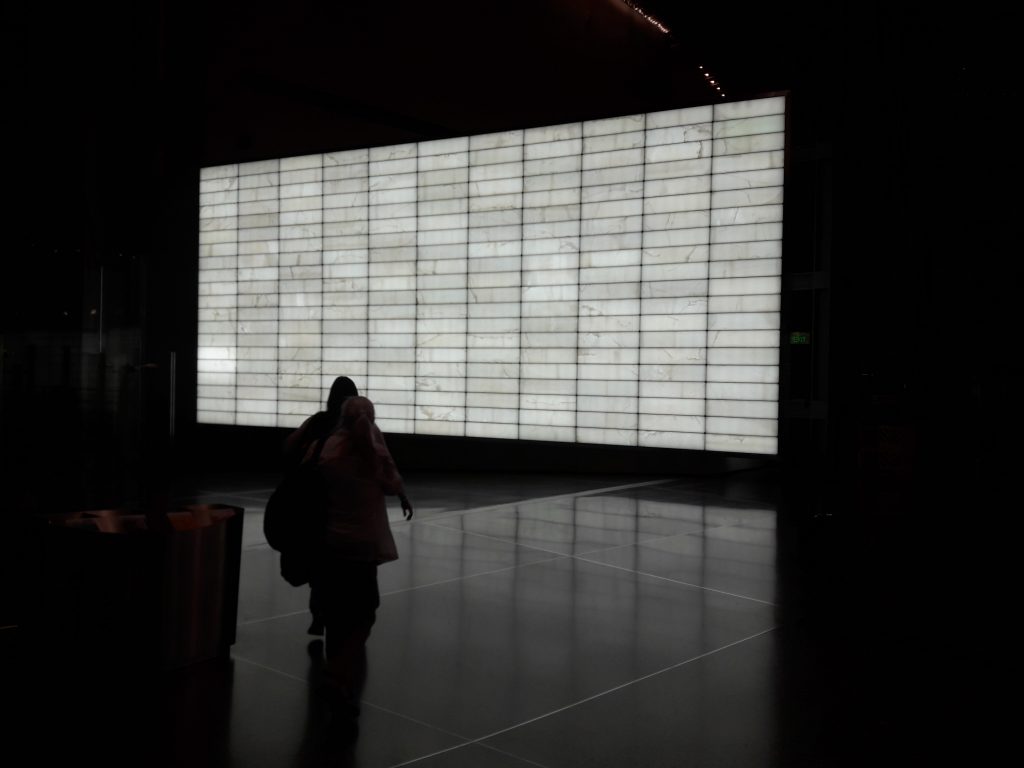
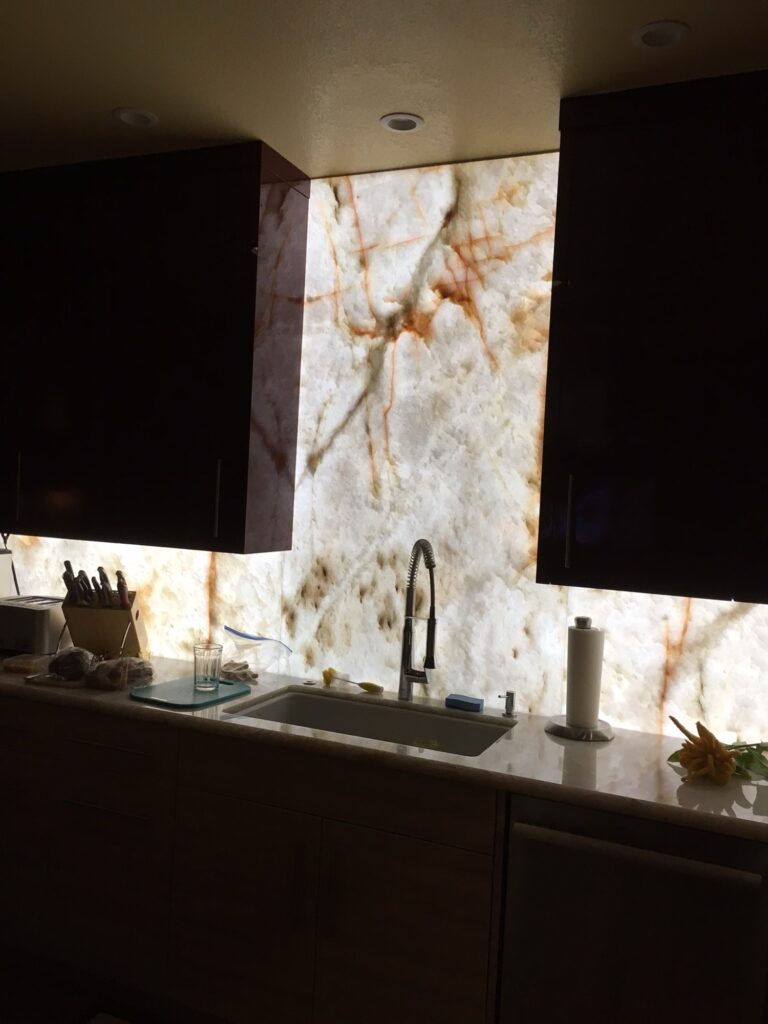
Installing LED backlighting behind translucent stone on vertical surfaces requires careful planning to achieve even illumination without visible LEDs, hotspots or panel seams. Materials such as onyx, Cristallo quartzite, marble and other translucent surfaces can be used to create illuminated kitchen backsplashes, feature walls, bar walls, shower walls and commercial displays. This guide covers our recommended approach to backlit stone panel installation based on more than 17 years specializing in architectural backlighting.
Planning a backsplash? See our guide to [How to Backlight a Stone Backsplash] for specific information about illuminated onyx, Cristallo quartzite and other translucent backsplash materials. https://nu-wo.com/how-to-backlight-stone-backsplash/
Mounting LED Backlight Panels Behind Stone
For vertical applications, LED panels are typically mounted directly to the wall using 3M VHB double-sided tape. This method provides temporary hold during installation. In many kitchen installations, the panel rests on the lower cabinets and is anchored behind the uppers, making use of the cabinetry structure for support.
In some situations, mechanical fasteners may also be used. If pre-drilled mounting holes are included in the LED panel frame, it may be possible to screw the panel to the wall — but this must be done with extreme caution to avoid damage. Most installations do not require this.
Adhering the Stone Slab (If Required)
Whenever possible, the stone should be mechanically supported independently of the LED light panel. Cabinetry channels, brackets, rails or other support methods determined by the stone fabricator can help avoid placing unnecessary adhesive between the lighting system and translucent stone.
However, if your stone fabricator requires adhesive, follow these important rules:
- Do not apply adhesive directly to the LED panel.
- Instead, apply small dabs or beads of clear adhesive to the back of the stone slab.
- Only apply adhesive to areas that are not translucent — such as veins or cloudy patches.
- The slab is then pressed gently against the LED panel, using those adhesive points for contact.
Too much adhesive or contact in transparent areas can cause visible “hot spots.” Most experienced fabricators will avoid this and often find more elegant solutions to support the slab mechanically.
Using a Diffusion Layer (Optional but Recommended)
If your stone is particularly crystalline or highly translucent, a diffusion layer can help soften the lighting and reduce the visibility of panel seams or hotspots.
The industry gold standard is:
- White 7328 Plexiglas® diffusion acrylic
- Commonly used in 1/16″ or 1/8″ thickness
- Helps spread light uniformly across the entire surface
Order online here: https://www.estreetplastics.com/white-plexiglass-acrylic-7328-s/85.htm
Many clients wait until the LED panels arrive and do a quick backlighting test with their specific stone slab. If hot spots or seams are visible, the 7328 acrylic sheet can be added during installation for a more diffused result.
Highly translucent stone can reveal lighting inconsistencies more easily. See our article on hotspots and visible panel seams in backlit stone for additional information.
Wiring, Power Supplies and Voltage
Nu World LED light panels operate on low-voltage DC power. The required voltage, power supply capacity and wire size depend on the specific lighting system, panel configuration, electrical load and distance between the panels and power supply.
Power supplies should be installed in an accessible location whenever possible so they can be serviced or replaced without removing the stone.
Longer low-voltage wiring runs may require heavier-gauge wire to minimize voltage drop. Final wire sizing, power-supply locations and electrical connections should be determined by a licensed electrician based on the project specifications and applicable electrical codes.
We recommend:
- Placing the power supply as close to the LED panel as possible
- Using 10 or 12 gauge wire for runs longer than 10 feet to minimize voltage drop
- Choosing a 24V DC system for very long wiring distances, where feasible
Important: These are only general recommendations. All wiring and electrical decisions should be made in consultation with a licensed electrician familiar with your local code and the specific installation site.
Best Practices for Backlit Stone Panel Installation
There’s no one-size-fits-all solution, but here’s what we recommend as a general approach for vertical LED backlighting:
- Start with a test: try your LED panel with your actual slab
- Use mechanical support methods whenever possible
- If using adhesive, apply sparingly and only to opaque sections on the stone’s back side
- In high-translucency cases, add a diffusion layer like 7328 Plexiglas®
- Keep your power supply close and use heavy gauge wiring
- Let your electrician and fabricator guide the final install plan
Learn more about our frameless LED light panels for backlighting stone and translucent surfaces.
Ready to Light Up Your Stone Wall or Backsplash?
We ship custom LED light panels across the United States and Canada—including homes and design projects in New York, Los Angeles, Dallas, Miami, Seattle, Toronto, Vancouver, and more.
Send us your drawings, dimensions, or stone photos today and we’ll help you plan the perfect backlighting solution. Our panels are precision-built, easy to install, and trusted by designers and contractors across North America.
Let’s get your project glowing.
Nu World Custom Lighting and Design
Website: https://nu-wo.com
Email: info@nu-wo.com
Phone: 1-604-900-2313
Explore Projects: https://nu-wo.com/featured-projects/